
If you’ve been using an SSD for booting Windows on your PC, it may be reaching its capacity limit, or perhaps showing signs of wear, depending on its age. Installing a new drive and a fresh copy of the operating system is not particularly challenging, but what if you wish to retain all your apps, files, settings, passwords, and more?
You can do this by making a carbon copy (a clone) of your old drive and putting that onto the new one. This might sound like it’s a lot of work, but with this short guide, you’ll be upgrading your boot SSD in no time at all.
Choose your new SSD carefully
Large capacity SSDs are now plentiful and cheap – 1 TB models under $50 are fast and reliable. But if you’re going to be using one as your boot drive (i.e. where the operating system is installed), then there are a few things that you should consider before clicking the purchase button.
The cheaper the SSD, the more likely it is to have a variety of features that can make it function somewhat slower than you’d expect.
The first and perhaps most important is the type of NAND flash that’s used in the drive. The fastest is known as SLC (single-level cell), but this holds the least amount of data, so nearly all of the large SSDs under $100 use a different type of cell.
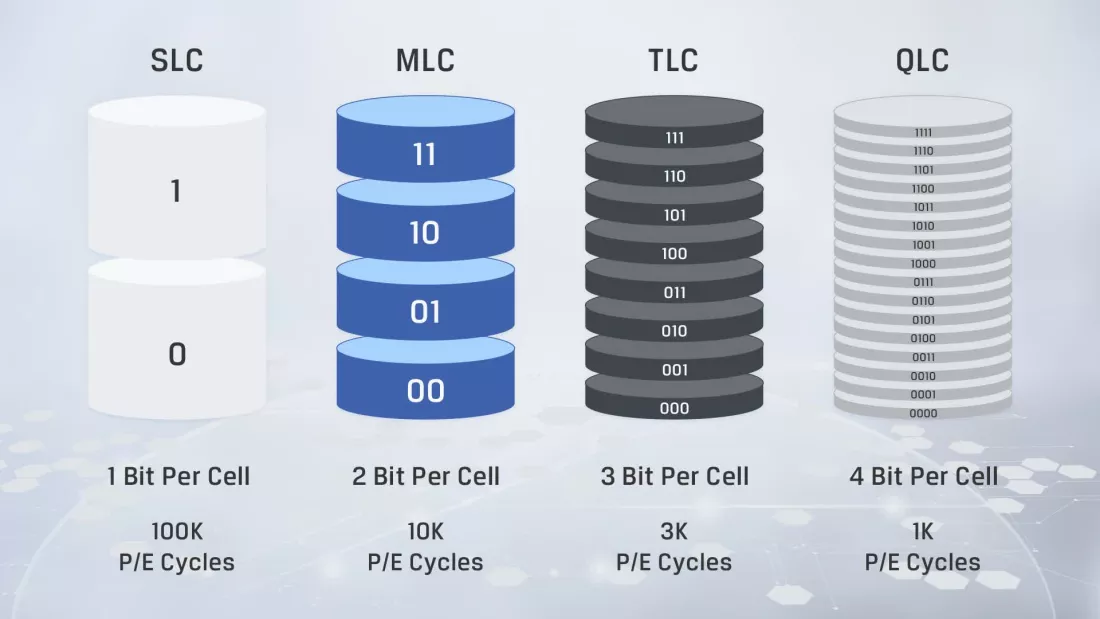
MLC, TLC, and QLC (multi/triple/quad-level cell) can store increasingly more data than SLC, but as a trade-off, each is progressively slower and has a shorter lifespan. However, for the vast majority of users, neither speed nor lifespan is a significant issue, especially with MLC and TLC drives.
The latter is very common and provides more than enough performance for most needs, and large capacity drives (i.e. 1 TB or larger) have plenty of endurance, too. However, QLC should be avoided for a boot drive that will see heavy use, though they’re acceptable for general storage.
But what you should definitely note is if the SSD sports any DRAM. For a boot drive, a DRAM-less SSD is not recommended.
If you want your boot drive to be as fast as possible, make sure you get one that has dedicated onboard memory.
Many SSD drives include a single memory module, used to store a map of the drive’s data location, while also acting as a temporary cache for instructions, etc. SSDs categorized as DRAM-less store this map in part of the SSD’s own cells, and some models might also utilize a fraction of the system memory. While this slows down the overall performance, it does mean the SSD will use less power and be cheaper to buy. If you want your boot drive to be as fast as possible, make sure you get one that has dedicated onboard memory.

From left to right: two NAND flash, one DRAM, and one SSD controller chips
Additionally, manufacturers typically indicate a drive’s performance through the use of sequential read & write speeds – these are measures of the amount of data that be read from or written to the drive in one second. They’re always peak figures, of course, and as such only apply in specific circumstances.
Take the Samsung 990 Pro, as an example. It’s claimed to have read/write data speeds of up to 7450 and 6900 MB/s, but the drive needs 4 lanes of PCIe 4.0 to achieve these figures. Put it into a computer that only supports PCIe 3.0 and it will never be able to hit those speeds because that version is limited to 4000 MB/s, at best.
Therefore it’s important to check out the PCIe specs for your computer before buying a new SSD. If you’re not sure what your machine has, then download CPU-Z and click on the Mainboard tab, after it’s been installed – this will clearly tell you what PCI Express version you’ve got.
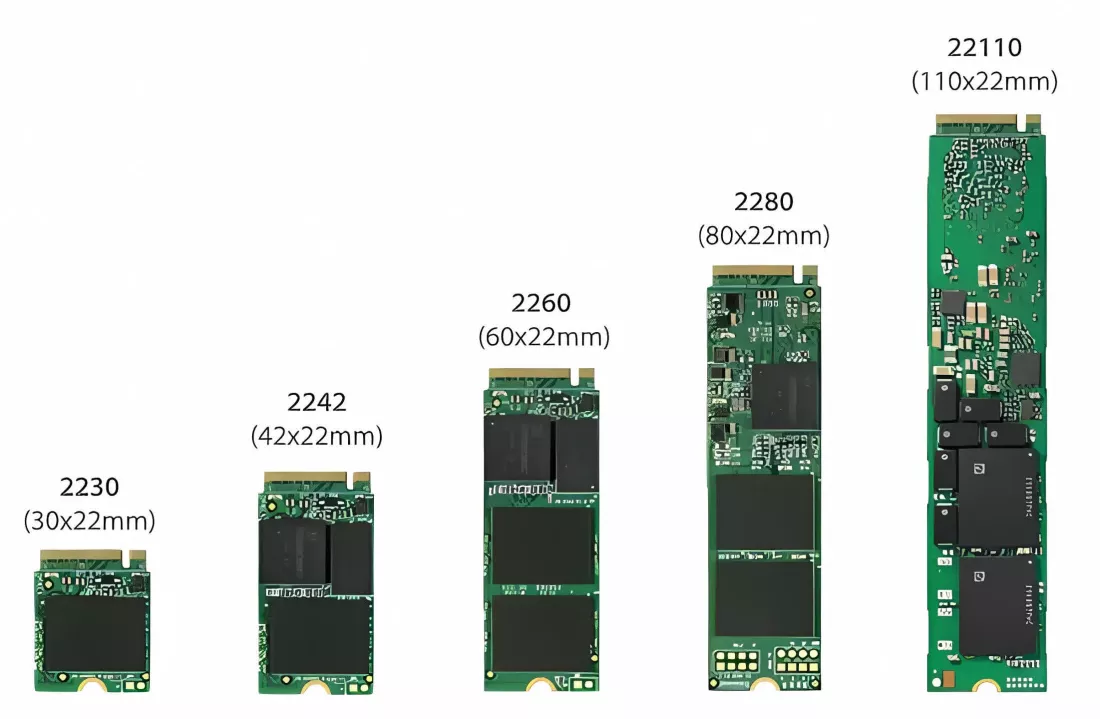
Finally, check through the specifications for your PC to see what size of M.2 form factor it can take if you’re planning on using that type of connector. The type of form is indicated by a number that refers to the maximum length of SSD supported.
For example, 2242 means 22 mm wide and 42 mm long, whereas 2280 means the device will be 80 mm in length. Desktop PCs can usually take any size, though they tend to favor 2260 or 2280 sizes; laptops are often restricted to shorter formats, due to space constraints.
Make sure you check out our guide to the best SSDs as well, so you can see what make and models are the most ideal purchases.
What you need to clone your existing boot drive
Besides a new SSD, there are two other things that you will need in order to make a carbon copy of your current boot drive: a free slot for the new drive to be connected to and a software package to manage the process for you.
In order for the cloning to work, you obviously need your current boot SSD and the new one installed on the computer at the same time. This is where it can get a bit tricky because it depends on what type of port you’re using at the moment, what the new drive will be using, and what ports you have free.
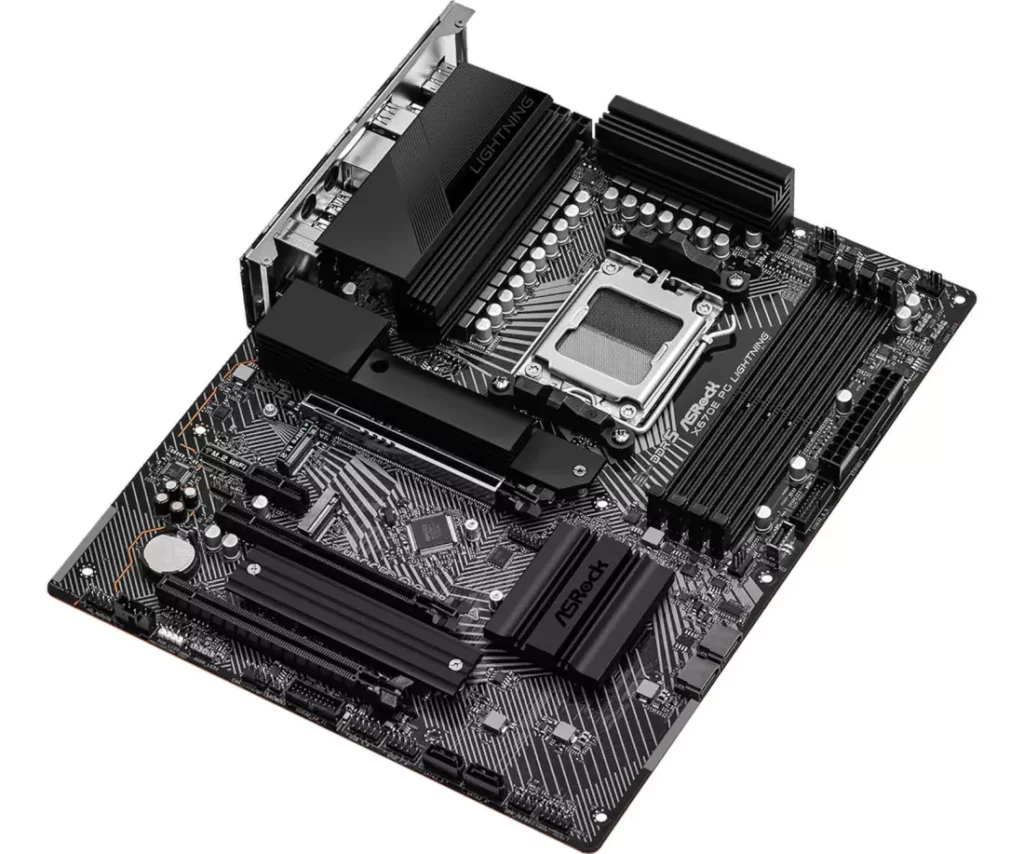
This budget motherboard sports four M.2 sockets
Modern desktop PCs usually have plenty of SATA ports on their motherboards, so if both drives will be using SATA, you should be okay. The same is true if you’re going from SATA to M.2 as most motherboards over the past few years will have at least one M.2 socket on them.
But what if you don’t have any free ports? For example, let’s say you’re using M.2 for everything, but every slot is already in use (which can be the case with laptops), how do you connect the new drive to the computer?
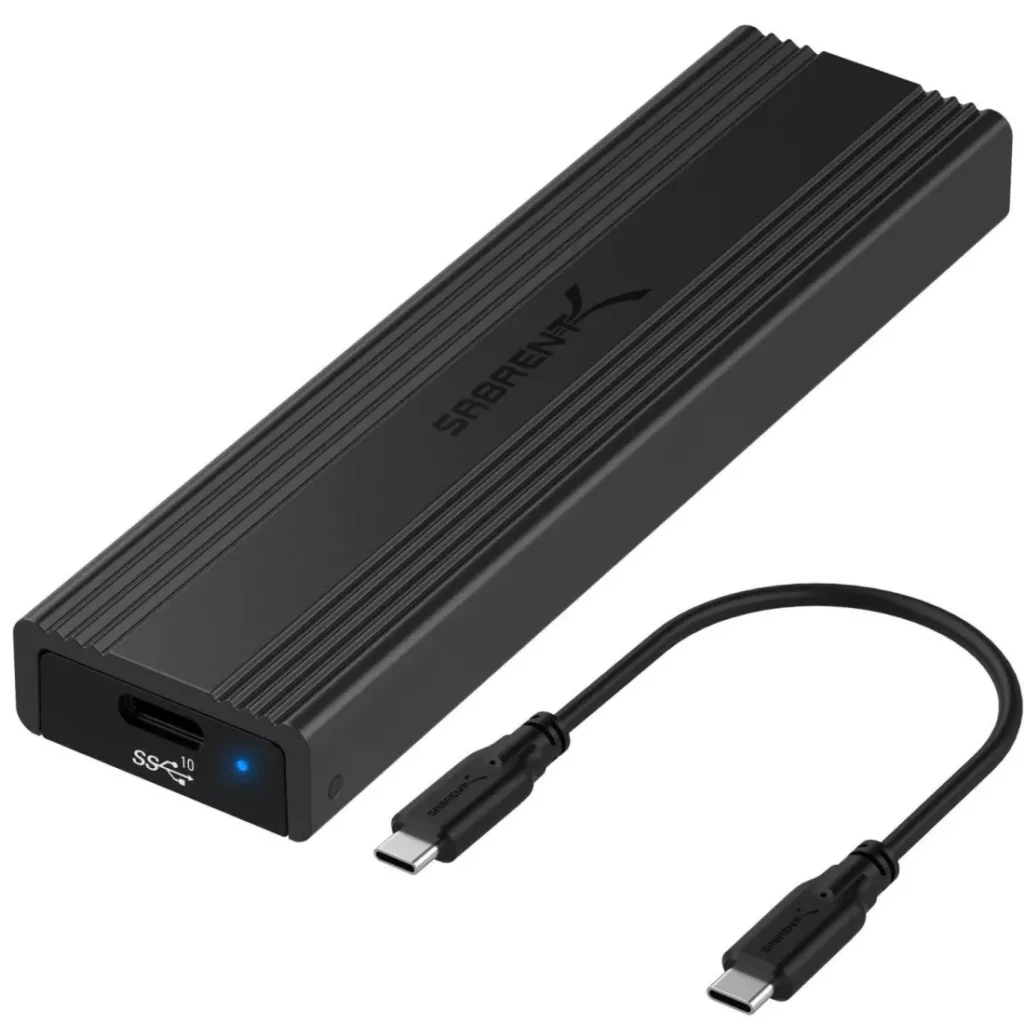
Fortunately, you can buy adapters that will plug into a USB port or PCI Express slot that will get around this issue. Storage manufacturer Sabrent has something for every combination you could possibly need. Check the links at the bottom of this article for links to some of these adapters. Do note that using USB will make the cloning process somewhat slow – make sure you use a fast USB port if you can.
When it comes to selecting a cloning program, check with the manufacturer of your current SSD, as some offer this function in their software (e.g. Samsung Magician and WD Acronis True Image). These programs will only work on that vendor’s hardware, though.
There are many programs on the market that can easily do the job, though some will lock the ability to clone a boot drive to a paid version only. We’re going to be using Macrium Reflect 8 in this article.
Reflect 8 offers a fully functional 30-day trial version, which is more than enough time for you to upgrade your SSD and test out its other features. After that, you’ll need to pay for a license but it’s a one-off payment, rather than the usual yearly subscription.
Before you get started – this is important!
The first thing you should do, before adding the new drive and cloning software, is to make a complete backup of everything on your current boot SSD. Windows has a basic backup utility built in (Settings > Accounts > Windows backup) but you may be better off using a dedicated program for the task, such as Reflect 8.
We can’t guarantee that the cloning process is going to be 100% risk-free and although it should work fine, there’s always a possibility of something going wrong. If this happens, then the worst-case scenario would be having a corrupted boot drive.
If you’re going to be cloning hundreds of GBs of data, then the whole process is going to take a while. Depending on the speed of the drives and types of ports being used, it could take hours to completely copy everything across. You won’t be able to fully use your PC during this time and it will work the drives hard, so ensure they have plenty of air flowing over them.
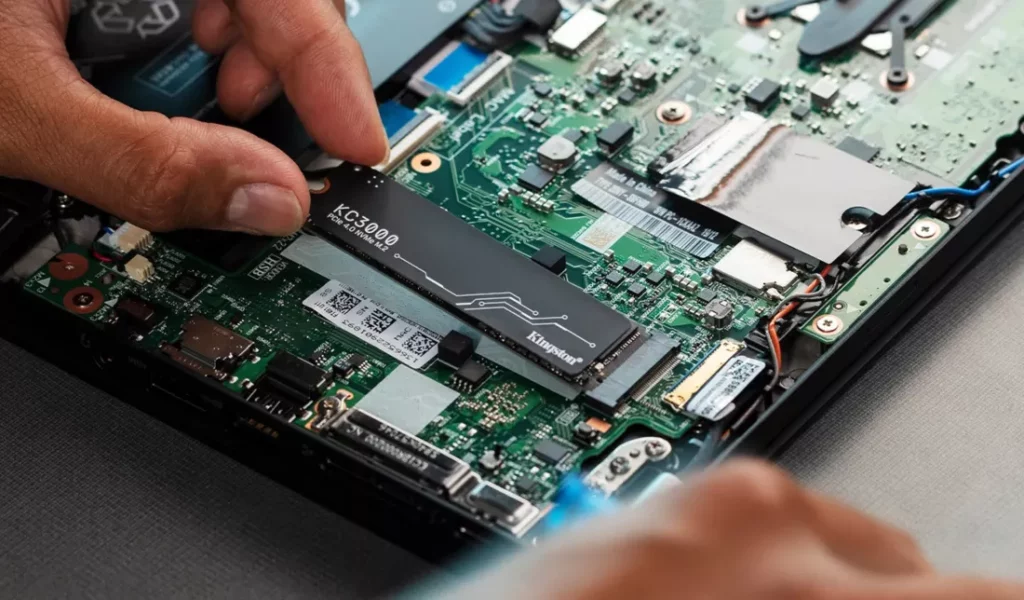
Fast SSDs in laptops can get very hot when working hard.
Drive cloning is routinely done by IT technicians and engineers around the world, so you’re not going to be doing something that’s beyond the capability of a typical PC. That said, laptops and budget home computers are likely to be the slowest at doing it and will probably get very hot in the process, so try to keep them cool as best as you can.
Ideally, you will be cloning to a drive that has the same or more capacity than the boot SSD you are replacing. But if for some reason this isn’t the case, then you’ll need to delete things from the current drive until the amount of storage used is less than the new drive’s free space.
Modern SSDs can also be set to do something called over-provisioning, which is where some of the free capacity is set aside. The amount can be anywhere from 5% to 30% of the total free space, depending on the type of SSD and its intended usage. So if you are going from a larger drive to a smaller one, make sure you account for this.